
Create a Spring Boot application with CamundaBPM Engine
This post contains a step-by-step guide on how to create a simple Spring Boot application containing the Camunda BPM Engine and a simple BPMN process. Camunda BPM is an open-source workflow and decision automation platform.
Java Nibble Article: https://www.javanibble.com/how-to-create-a-camunda-bpm-spring-boot-application/
Pre-Requisites
The following is required to run the Spring Boot example:
Compile & Run The Example
1. Compile the application
Use the following command to compile the Spring Boot application making use of maven:
$ mvn clean install
2. Run the application
After you have successfully built the Camunda BPM Spring Boot application, the compiled artifact can be found in the target directory. Use the following command to start the Camunda BPM Spring Boot Application.
$ maven spring-boot:run
3. Execute the example
After the application has started, run the following command in another terminal:
Run the command: Start Process Instance
The following command instantiates a new instance of the personal-message process and pass the process variable called personal-message with a value of Hello World !!! to the process engine as part of the request body.
$ ./start_process_scenario_01.sh
The script performs the following commands:
curl --location --request POST 'http://localhost:8080/engine-rest/process-definition/key/personal-message/start' --header 'Content-Type: application/json' --data-raw '{
     "variables": {
         "personal-message": {
             "value": "Hello World !!!",
             "type": "String"
        }
    }
}'
View Camunda Admin Console
To view the Camunda Admin Console, type the following url in your browser while the application is running. You will be prompted with the login screen.
- [http://localhost:8080/][Camunda_Admin]
After you have typed the above URL in a browser while the application is running, you will be prompted with the login screen. The image display the default settings for the H2 console and will allow you to login withou a password.
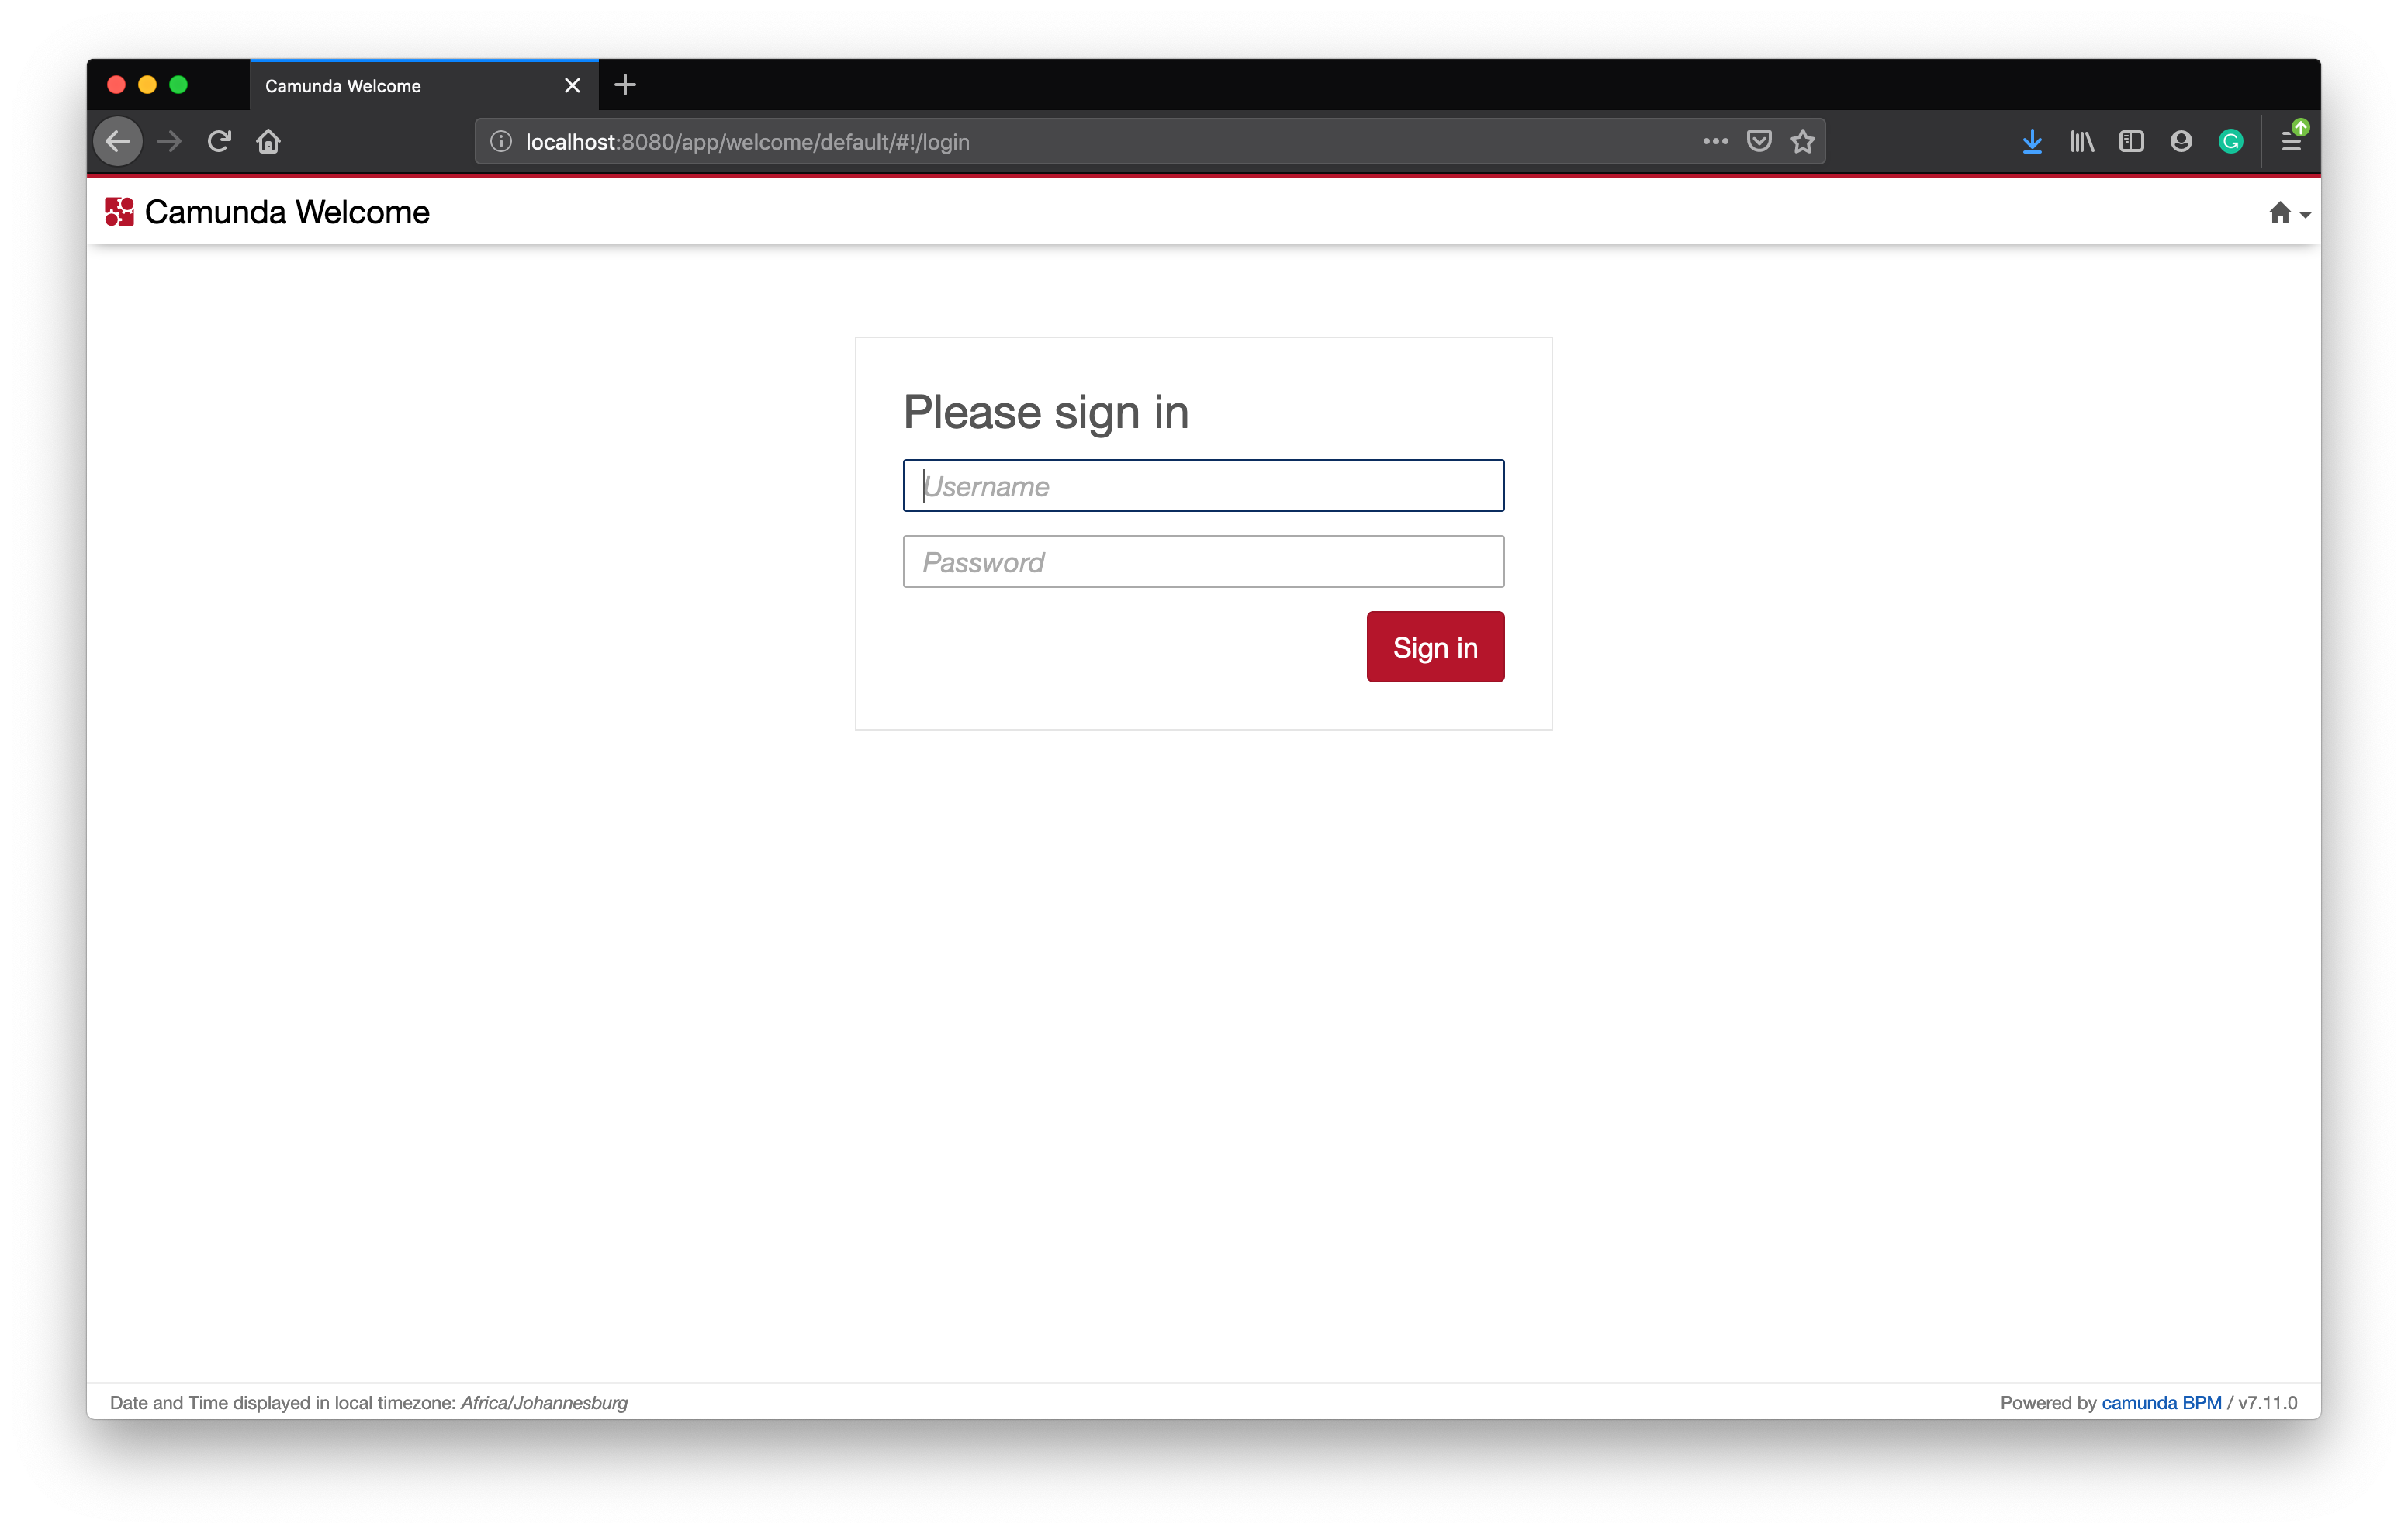
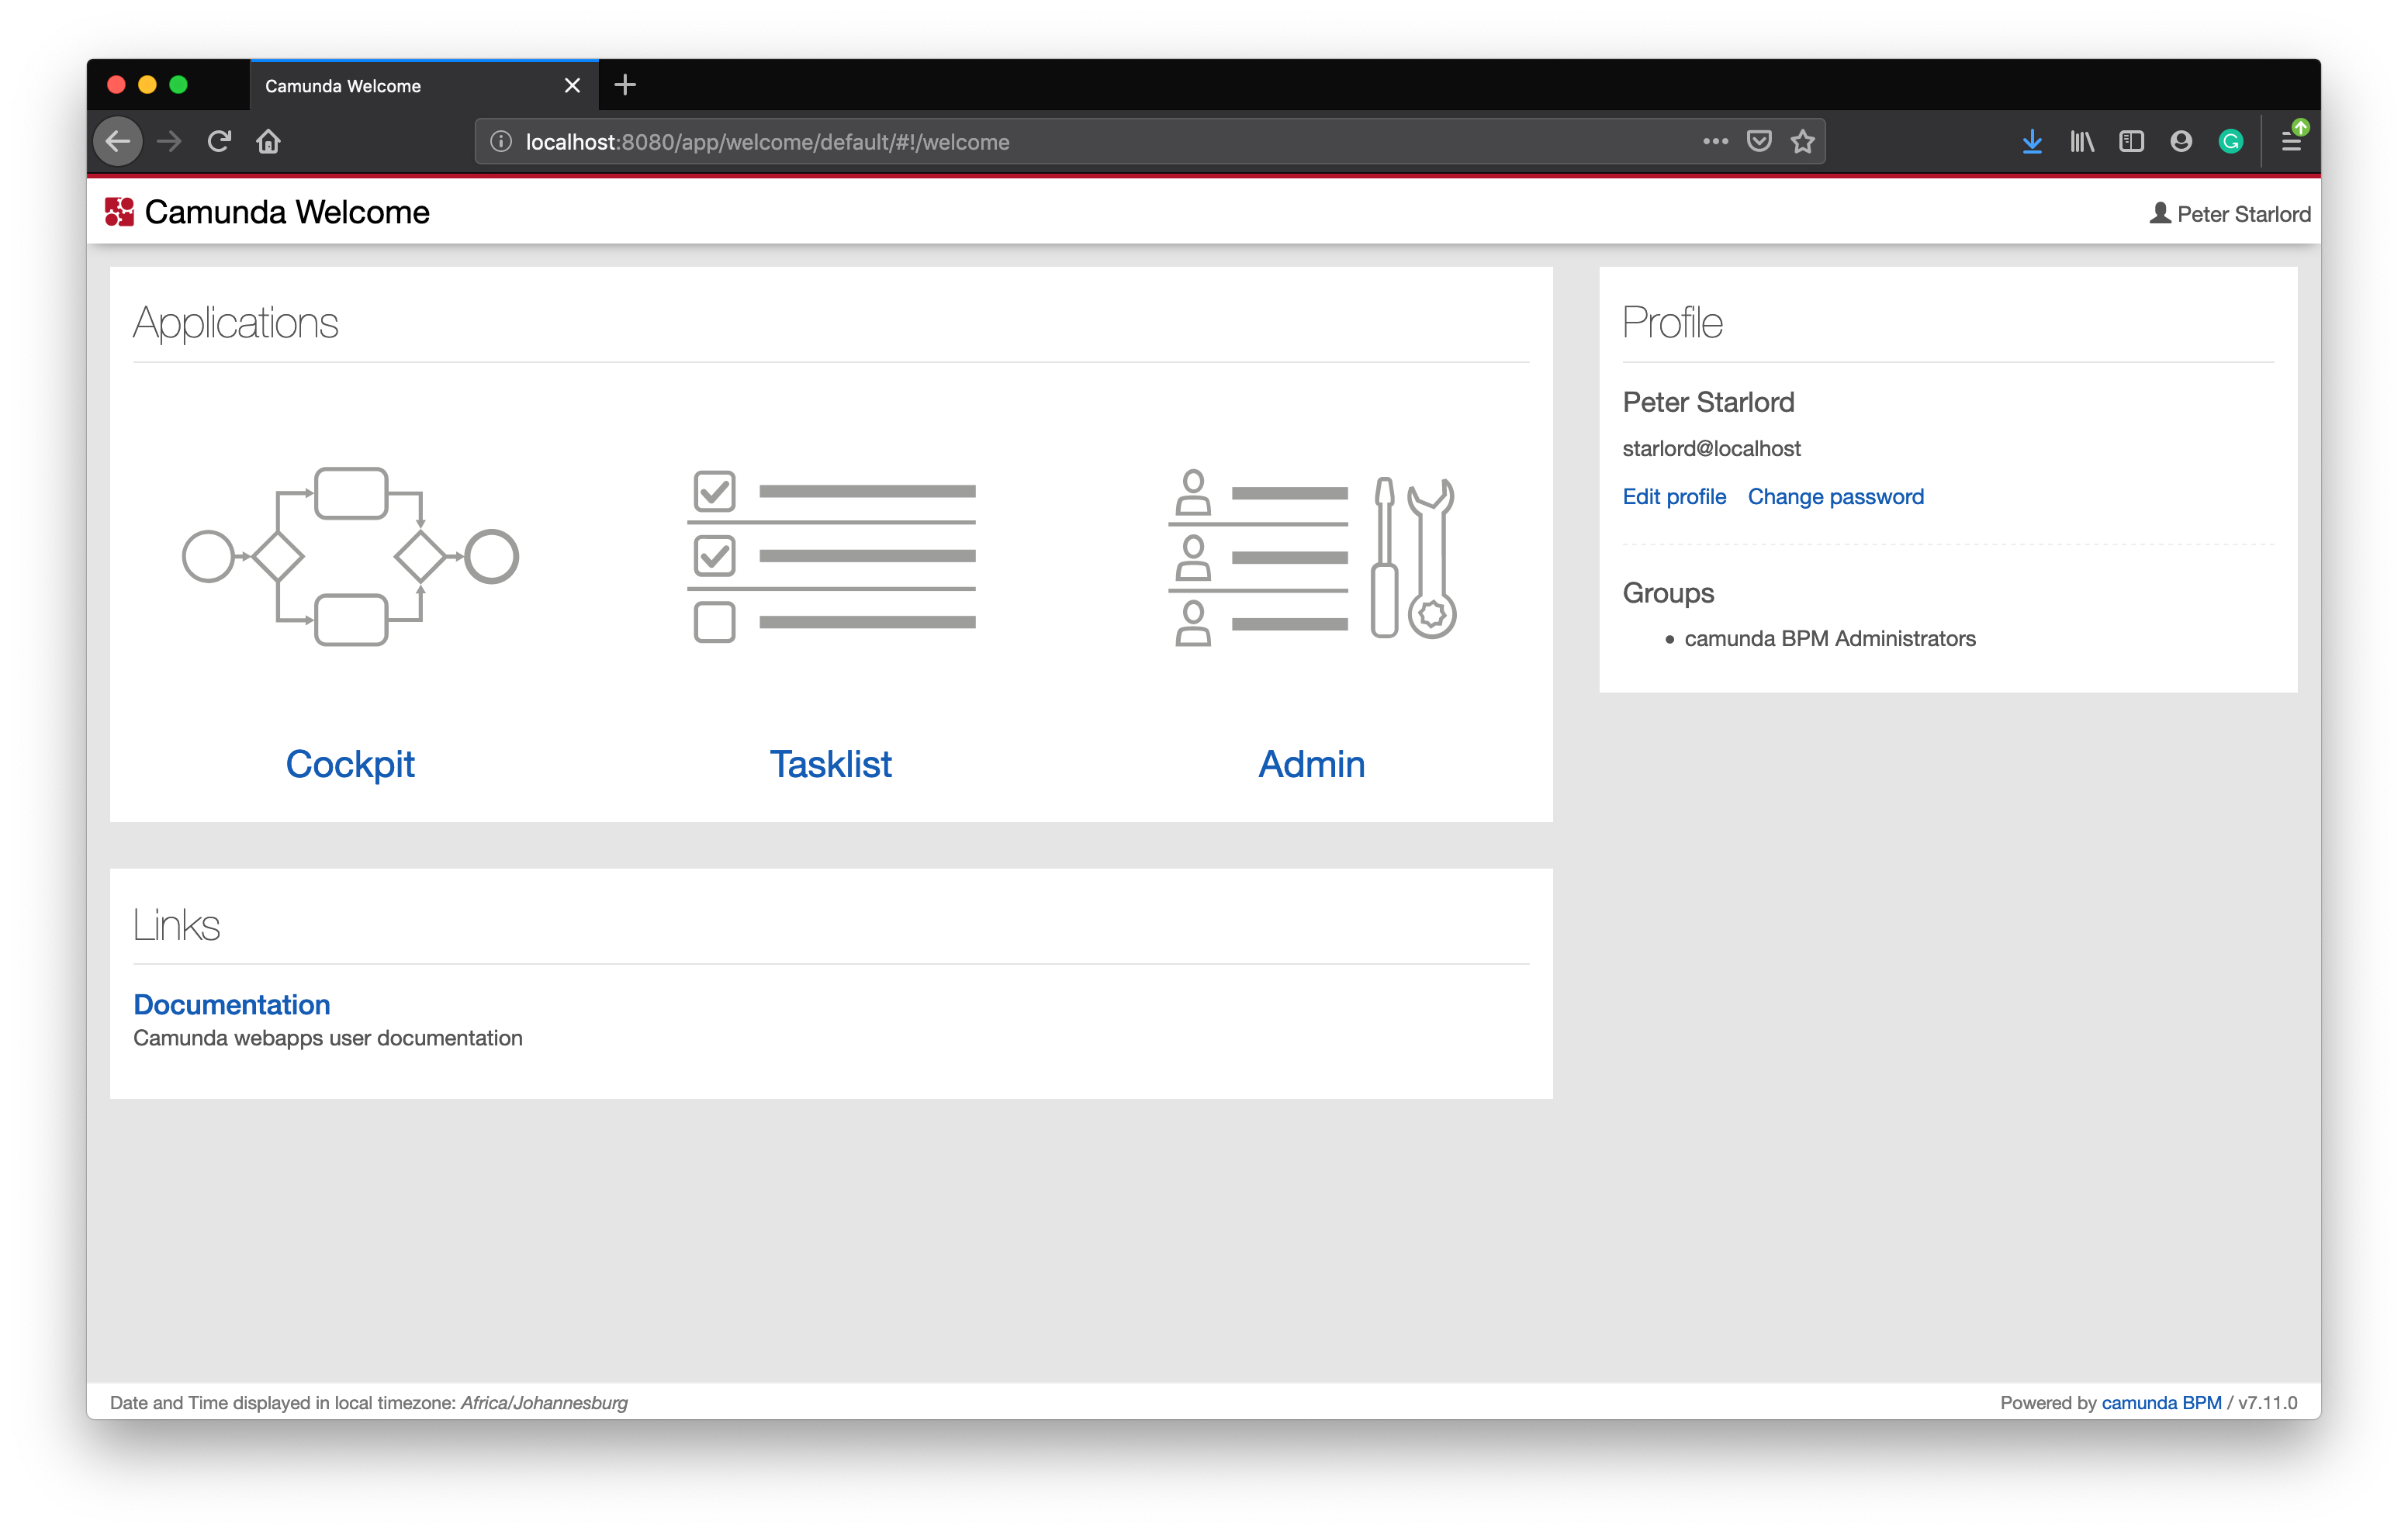
Type the Username and Password you set within the application properties file. Once you have successfully authenticated, you will be see the Admin Dashboard.
- Username: demo
- Password: demo
View the H2 Console
To view the H2 Console, type the following url in your browser while the application is running. You will be prompted with the login screen.
After you have typed the above URL in a browser while the application is running, you will be prompted with the login screen. Press the connect button since there is no password specified.